
Are you one of those streamers who spend their initial few minutes setting up their stream and trying to figure out why there is no sound or video? Or there is a section in your video you don’t want to add because you feel it’s not up to the mark! Whatever your reasons may be, we will like to introduce you to LiveEdu.tv Video Editor.
The Video Editor is a tool you can use to load, split and render any of your videos. In this article, you will learn how to split a video. It is an easy process and shouldn’t take more than five mins. Let’s get started.
Step 1: To take advantage of this video editor, you need to login to your account by going to the login page. If you are new to the platform? Signup now and amplify your learning.
Step 2: Once you are logged in, go to the project and click on the video you want to edit.
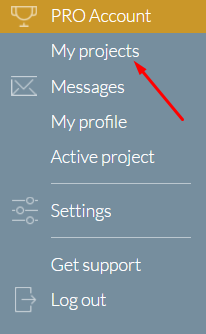
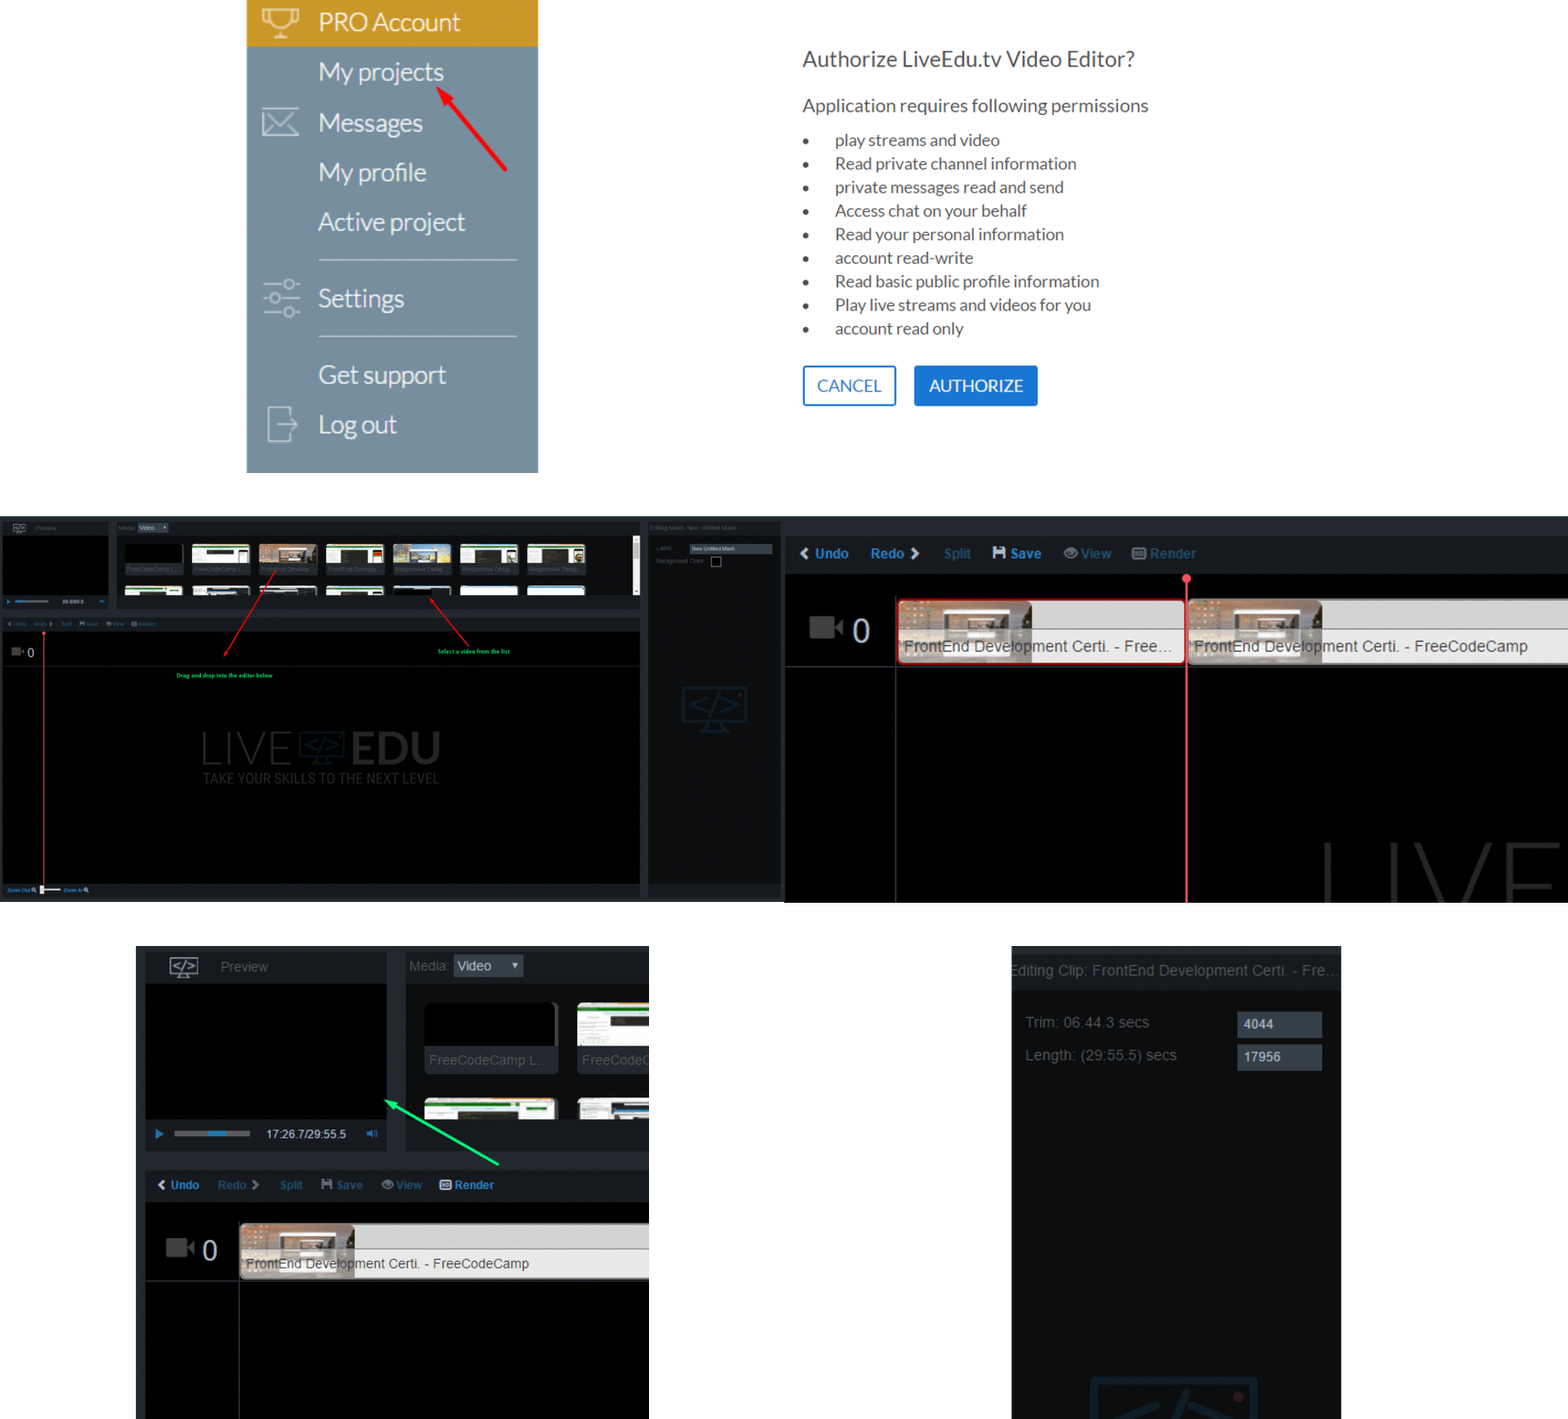
To go to a particular project, you need to click on your profile picture. A drop down menu will pop up. Now click on the “My Projects”.
Step 3: After choosing the project, select the individual video you want to split by clicking on it and then select “Edit Video” as shown in the image below.

The platform will ask you to authorize LiveEdu.tv Video Editor every time you want to use it. Just go ahead and click on the “Authorize” button.

If you pass through another route and opened the editor directly, you will need to choose the video you want to split by dragging and dropping it into the editor as shown in the image below.

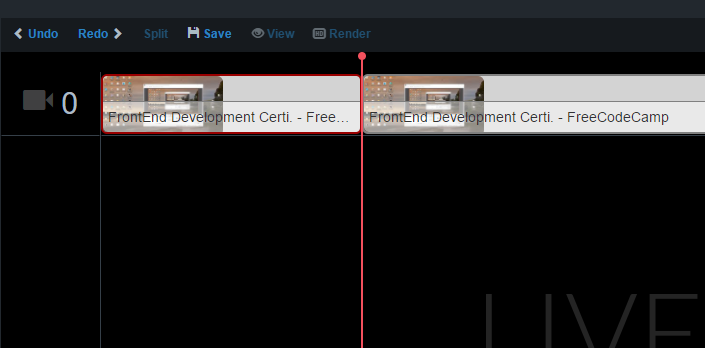
Step 4: After the video is selected, all you need to do is drag the red line to the position from where you want to split the video.

Step 5: Click on “Split” button and then drag and drop the part of the video you don’t need outside the editor.
You can see the results in the “Preview section” of the editor as shown below.
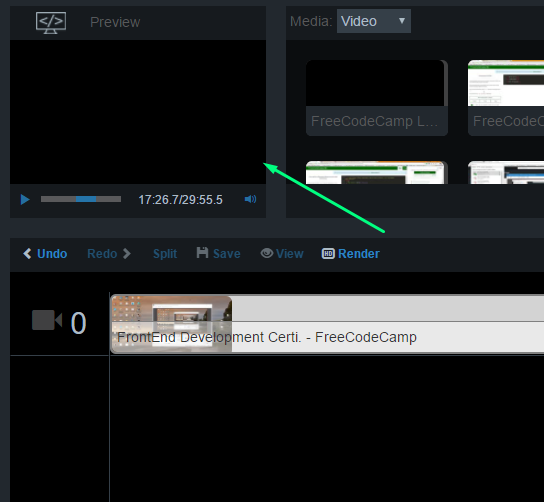
To proceed, drag and drop the first part of the video outside. This will leave us with the other section of the video that we can “Save”.

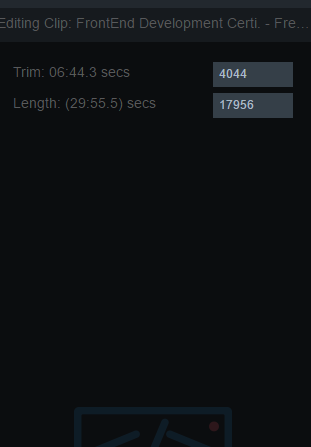
The right hand section of the editor will show vital information of the video you are editing such as the Trim length and the total length of the actual video.
Step 6: After Saving the changes, you now need to click on “Render” to complete the process.
NOTE: Once you click on “Render”, there is no way to reverse the process. If you are not sure, you can click on the “Undo” button to start over again.

Once you click on “Render”, the editor will start rendering the video. A progress bar is shown to keep you informed all the time.
Step 7: The video is now splitted and is now live on the site! Check the video!
Check out the GIF to know all the steps in a single place!
That’s it! To make your videos more meaningful, you should split your video regularly. Livestreaming is full of challenges, and it is common for streamers to make mistakes that they don’t want. However, everyone makes mistakes and would not want to show them in their later stored videos. The editor will help them manage their videos and keep both the streamer and viewers happy!
So, tell us what you think about the new video editor? Comment below and let us know, we are listening.


